 PopHorror Let's Get Scared
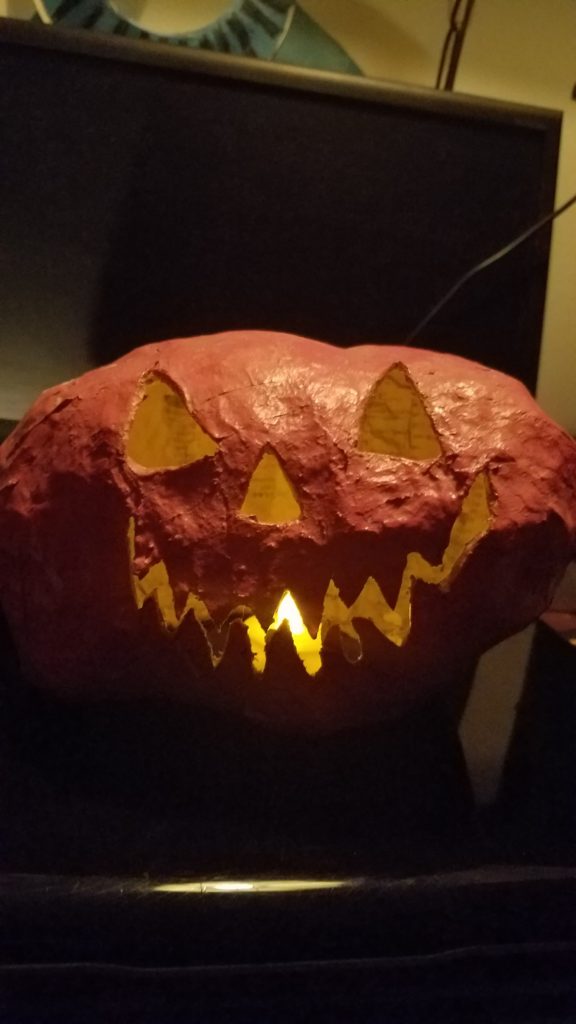
Paper Mache Pumpkins
What I used: a plastic bowl, all-purpose flour, warm water, newspaper, a plastic bag, tape, markers, scissors or x-acto knife, paint.
First, take your plastic bag and fill it with crumpled newspaper. This will be the size of your pumpkin. Once you reach the desired size, you can tape the opening closed. Now, take long strips of tape to create the depth of the pumpkin ribs. I found that masking tape worked best for this. At this point, when you are satisfied with the shape of your pumpkin, mix your paper mache mix.
Measure equal parts warm water and all-purpose flour into your bowl (you can start with one cup of each) and mix. You want to reach the consistency of pancake batter. Cut or tear your newspaper into 1-inch strips. Don’t worry about perfection here, anything goes. Go ahead and dip your paper strip into your paper mache mix and cover your pumpkin. You want to let it dry for a few hours in between layers. We did 3 layers and let our wet pumpkins set out in the hot Southern California sun for a bit.

Next, cut a hole in the bottom of your pumpkin large enough to pull out the paper filling. You can keep the hole you cut from the bottom if you wish to close your pumpkin later. You should be left with a hollowed pumpkin. If the plastic bag doesn’t pull away freely, you might need to allow more dry time. Now draw on your face and cut out with your scissors or x-acto knife. To add more 3-dimensional facial features, build up some paper mache as if using molding clay. If you need to patch up any rips or weak spots, use small pieces of newspaper and brush the paper mache mixture to the pumpkin.
To add a stem, take dry newspaper and mold the basic shape you want to create. Brush the paper mache mixture onto the stem and allow to dry. To attach the stem to your pumpkin, you can use square pieces of newspaper to patch the two together. Continue to build up the foundation around the area where the stem and pumpkin meet. Now you’re ready to paint. The piece cut from the bottom can be reattached with some strips of paper mache or you could leave it off. There is no right or wrong way in this craft. If you plan on displaying your pumpkins outside, you might want to avoid any areas where your pumpkin may get wet. If you’d like, you can apply a spray sealer, just as a precaution.


These are so awesome . …I love DIY stuff and usually try to add at least 1 prop to ourvyard….last year I made my crooked fence fof graveyard and Made my husband make me body frames that we dressed with clothes from thrift store for zombies….always love to see what others fo or get some great ideas.
Thank you for this spooktackler article!!!!!
Thank you for sharing! We appreciate the feedback!
Thank you Donna! I’m glad you enjoyed the article. Sounds like you’re full of ideas as well. I enjoy all the decorations in the stores but its special when I see people get so creative and make things.
Deeply appreciate the feesback.